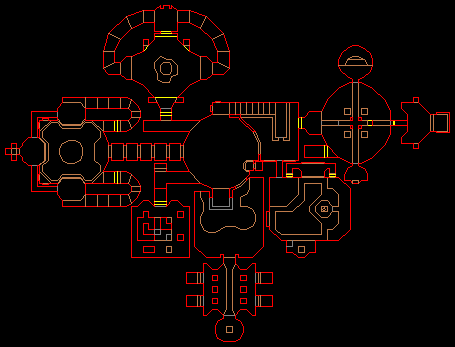
01, CONGO: Level map
Back to top
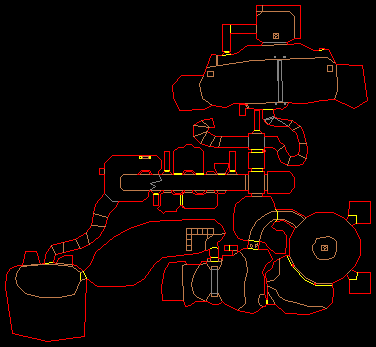
02, WELL OF SOULS: Level map
Back to top
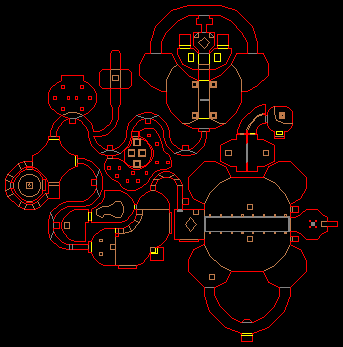
03, AZTEC: Level map
Back to top
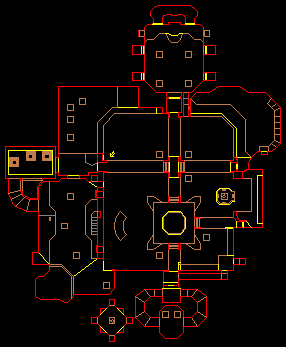
04, CAGED: Level map
Back to top
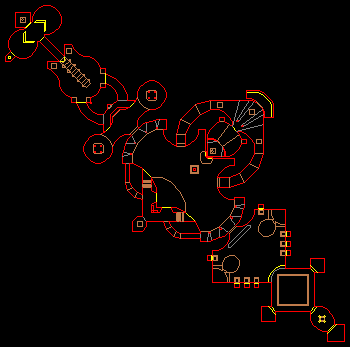
05, GHOST TOWN: Level map
Back to top
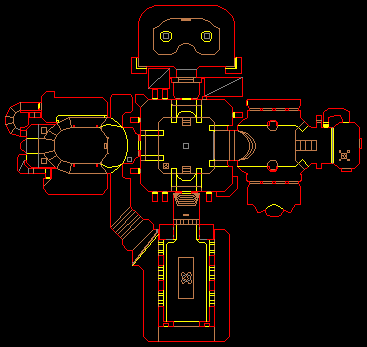
06, BARON'S LAIR: Level map
Back to top
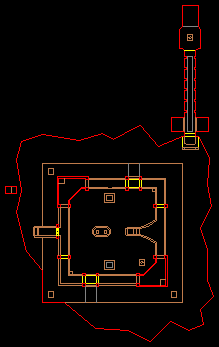
07, CAUGHTYARD: Level map
Back to top
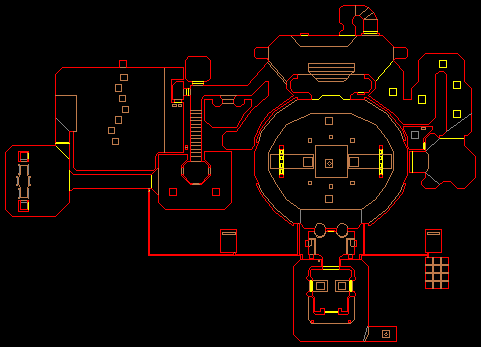
08, REALM: Level map
Back to top
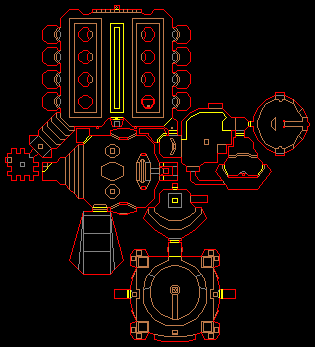
09, ABATTOIRE: Level map
Back to top
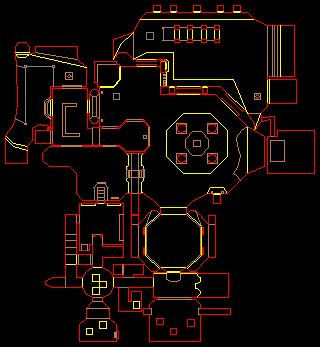
10, ONSLAUGHT: Level map
Back to top
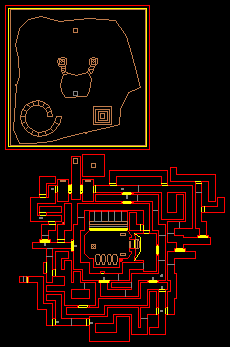
11, HUNTED: Level map
Back to top
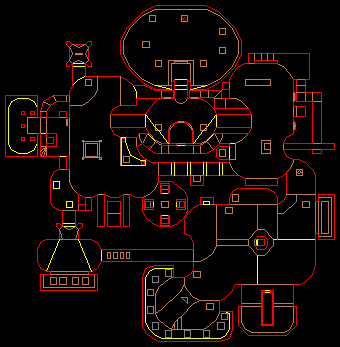
12, SPEED: Level map
Back to top
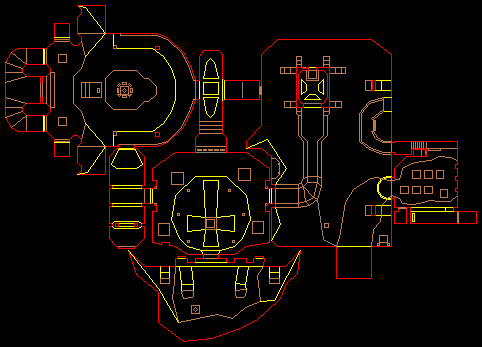
13, THE CRYPT: Level map
Back to top
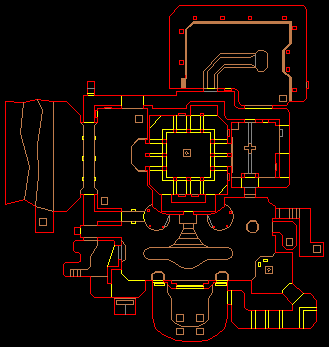
14, GENESIS: Level map
Back to top
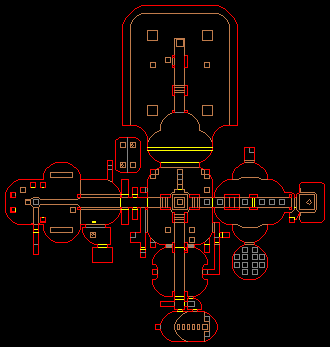
15, THE TWILIGHT: Level map
Back to top
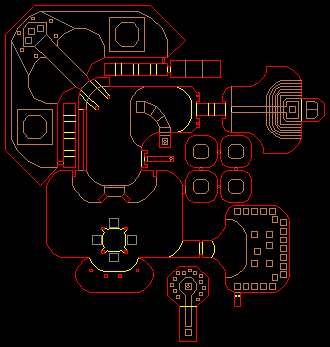
16, THE OMEN: Level map
Back to top
17, COMPOUND: Level map
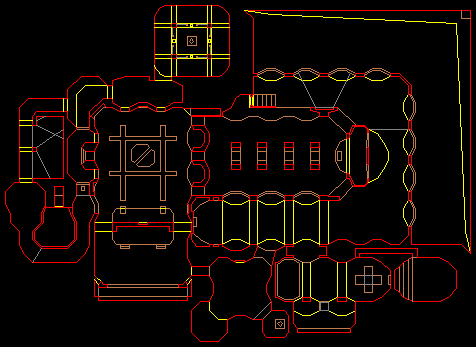
Back to top
18, NEUROSPHERE: Level map
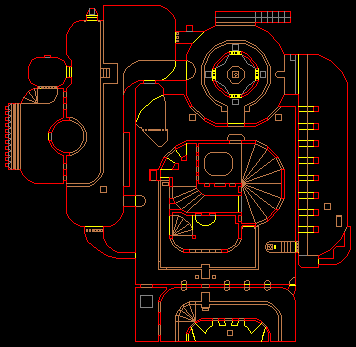
Back to top
19, NME: Level map
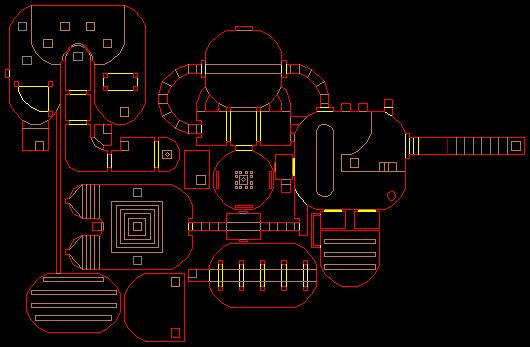
Back to top
20, THE DEATH DOMAIN: Level map
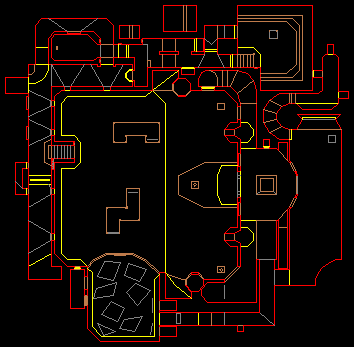
Back to top
21, SLAYER: Level map
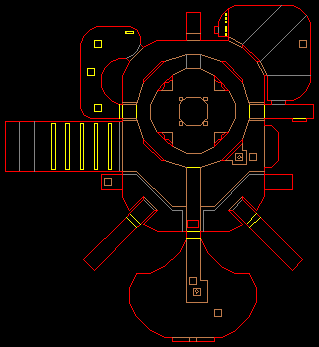
Back to top
22, IMPOSSIBLE MISSION: Level map
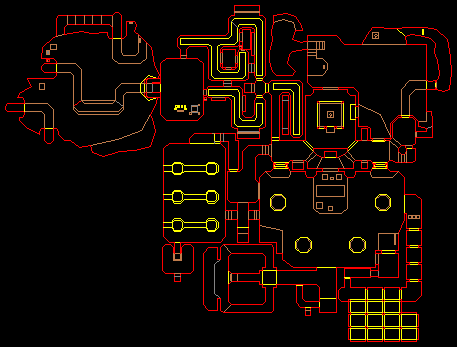
Back to top
23, TOMBSTONE: Level map
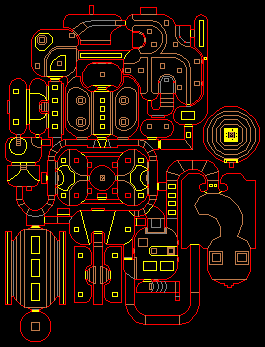
Back to top
24, THE FINAL FRONTIER: Level map
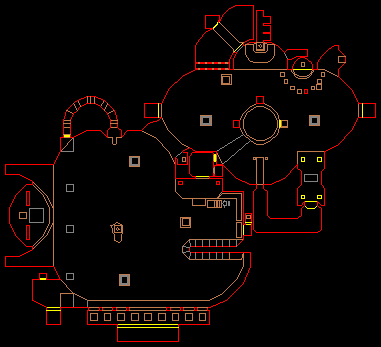
Back to top
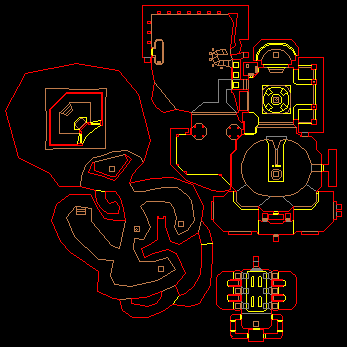
25, THE TEMPLE OF DARKNESS: Level map
Back to top
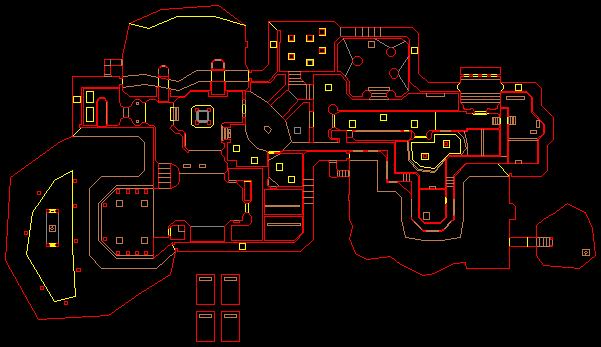
26, BUNKER: Level map
Back to top
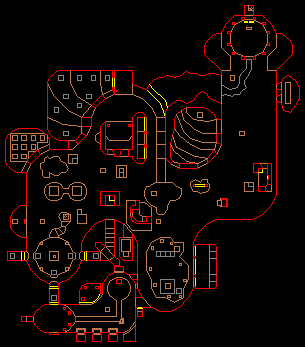
27, ANTI-CHRIST: Level map
Back to top
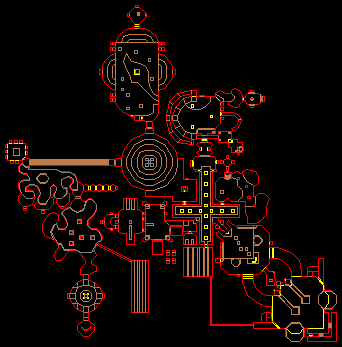
28, THE SEWERS: Level map
Back to top
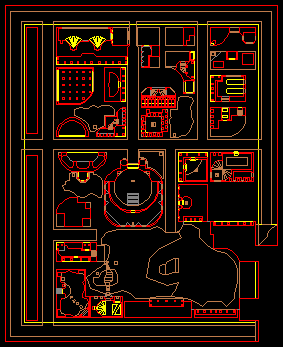
29, ODYSSEY OF NOISES: Level map
Back to top
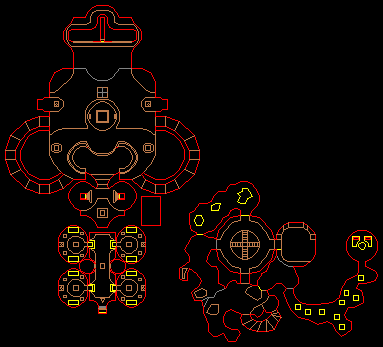
30, THE GATEWAY OF HELL: Level map
Back to top
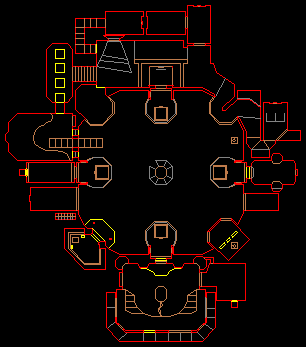
31, CYBERDEN: Level map
Back to top
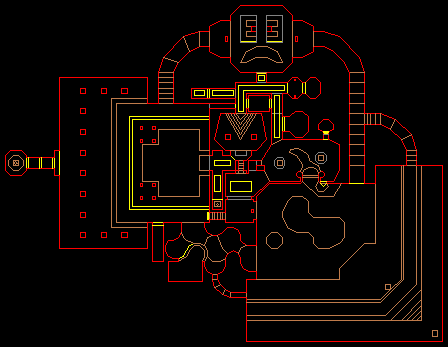
32, GO 2 IT: Level map
Back to top